Deploying nestjs with UI admin panel
Today, I’d like to take you on an exciting journey into the world of development using NestJS and the creation of a UI admin panel without the need for deep frontend knowledge. We’ll explore how to easily and effortlessly set up an administrative interface, allowing you to focus on the more critical aspects of your project.
This article is intended for developers who value their time and want to avoid the hassle of building an admin panel from scratch. We’ll dive into the realm of NestJS and demonstrate how to create a powerful and visually appealing web application with an administrative interface that simplifies managing your application.
<p>This article serves as a concise guide to integrating Payload CMS and NestJS. It’s important to note that it doesn’t claim to be a code-writing recommendation or an architectural approach. Instead, it aims to provide practical information on how to effectively combine two powerful tools to streamline the development of your application.</p>
What Do We Need?
To create an impressive administrative panel, we’ve chosen Payload CMS. This open-source project has gained wide popularity and garnered numerous stars on GitHub. Payload CMS provides powerful tools for data management and interaction within your NestJS application.
Key Features of Payload CMS:
- MongoDB Support: Payload CMS is designed to work seamlessly with the MongoDB database, making it an ideal choice for various projects, from small personal blogs to large corporate applications.
- High Flexibility: One of the key features of Payload CMS is its outstanding flexibility in customization. You can easily adapt the system to your unique needs and project requirements.
- Out-of-the-Box Functionality: Payload CMS offers a plethora of built-in features, significantly speeding up the development process.
Installation
To install Payload CMS, we will be using the built-in “blank” template from the create-payload-app package.
$ npx create-payload-app

Welcome to Payload. Let's create a project!
√ Project name? ... nestjs-and-payload-cms
√ Choose project template » blank
√ Enter MongoDB connection ...

mongodb://127.0.0.1/payload-cms-and-nestjs Creating project in ./nestjs-and-payload-cms √ Dependencies installed
√ .env file created
√ Payload project successfully created

$ cd nestjs-and-payload-cms
Installing nestjs
npm i @nestjs/core @nestjs/platform-express reflect-metadata
Integrating nestjs into the newly created payload cms template
Let’s create a server folder and write a standard “hello world controller”
mkdir ./src/server
mv ./src/server.ts ./src/server/index.ts
src/server/app.service.ts
import { Injectable } from '@nestjs/common';

@Injectable()
export class AppService {
  getHello(): string {
    return 'Hello World!';
  }
}
src/server/app.controller.ts
import { Controller, Get, Inject } from "@nestjs/common";
import { AppService } from "./app.service";

@Controller()
export class AppController {
  constructor(@Inject(AppService) private readonly appService: AppService) {}

  @Get()
  getHello(): string {
    return this.appService.getHello();
  }
}
src/server/app.module.ts
import { Module } from "@nestjs/common";
import { MongooseModule } from "@nestjs/mongoose";
import { AppController } from "./app.controller";
import { AppService } from "./app.service";
import { PostModule } from "./post/post.module";
require("dotenv").config();

@Module({
  imports: [MongooseModule.forRoot(process.env.MONGODB_URI), PostModule],
  controllers: [AppController],
  providers: [AppService],
})
export class AppModule {}
Don’t forget to update our scripts in the package.json and nodemon.json
"scripts": {
    "start:dev": "cross-env PAYLOAD_CONFIG_PATH=src/payload.config.ts nodemon",
    "start:prod": "cross-env PAYLOAD_CONFIG_PATH=dist/payload.config.js NODE_ENV=production node dist/server/index.js",
    "build:payload": "cross-env PAYLOAD_CONFIG_PATH=src/payload.config.ts payload build",
    "build:server": "tsc",
    "build:prod": "npm run copyfiles && npm run build:payload && npm run build:server",
    "copyfiles": "copyfiles -u 1 "src/**/*.{html,css,scss,ttf,woff,woff2,eot,svg,jpg,png}" dist/",
    "generate:types": "cross-env PAYLOAD_CONFIG_PATH=src/payload.config.ts payload generate:types"
}
{
  "ext": "ts",
  "exec": "ts-node src/server/index.ts"
}
Let’s change the original server.ts file
import { NestFactory } from "@nestjs/core";
import express from "express";
import payload from "payload";
import { AppModule } from "./app.module";

require("dotenv").config();
const app = express();

const start = async () => {
  // Initialize Payload
  await payload.init({
    // # Секретный ключ, который использует для шифрования токенов авторизации
    secret: process.env.PAYLOAD_SECRET,
    // # Строка для подключения к mongoDB
    mongoURL: process.env.MONGODB_URI,
    express: app,
    onInit: async () => {
      payload.logger.info(`Payload Admin URL: ${payload.getAdminURL()}`);
    },
  });

  const nest = await NestFactory.create(AppModule);
  await nest.init();
  app.use(nest.getHttpAdapter().getInstance());

  app.listen(3000);
};

start();
Here we initialize our nestjs in the future, various settings can be added here, for example swagger.
const nest = await NestFactory.create(AppModule);
await nest.init();
app.use(nest.getHttpAdapter().getInstance());
We are launching our project with the team
npm run start:dev
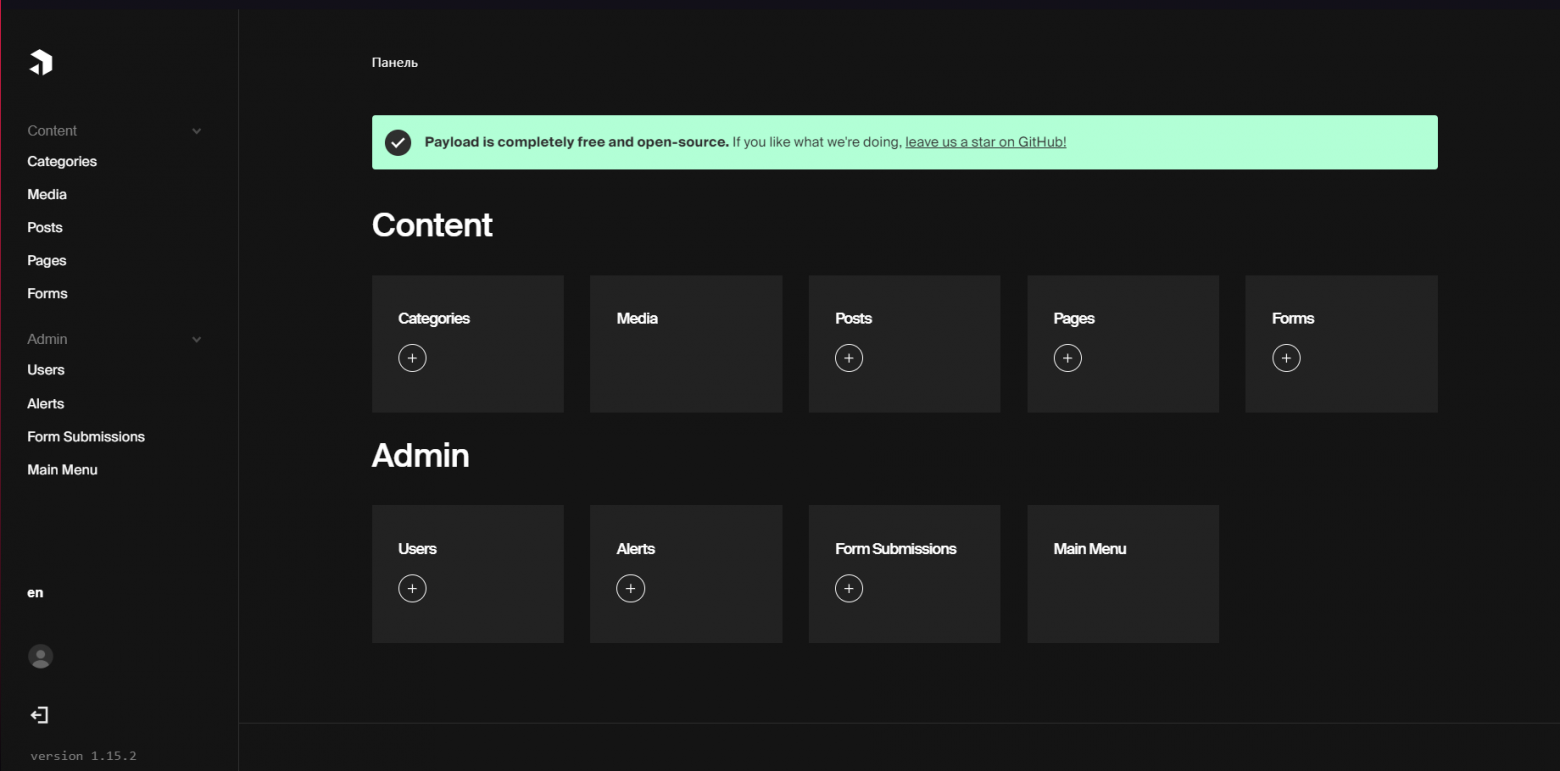
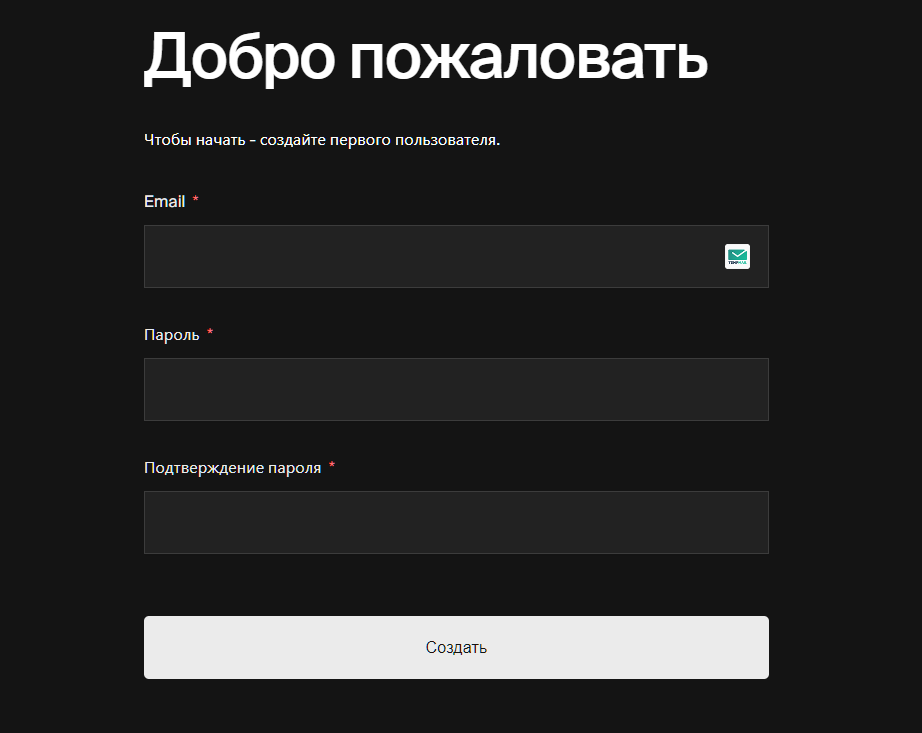
When clicking on the link http://localhost:3000/admin we will see the welcome payload page. At the address http://localhost:3000 we will have our AppController working out.
Creating a collection
I would like to show you how you can use the models that payload initializes inside the nestjs code. On the example of posts, with the exit time.
To do this, we first need to describe the collection inside the payload.
srccollectionspost.collection.ts
import { CollectionConfig } from "payload/types";
import Users from "./Users";

export const PostCollection: CollectionConfig = {
  slug: "posts",
  admin: {
    useAsTitle: "title",
  },
  versions: true,
  fields: [
    {
      name: "title", // # Create a mandatory field 'title' of type 'text'
      type: "text",
      label: "Title",
      required: true,
    },
    {
      // # Create a mandatory field 'content' of type 'richText', stored as JSON in the database
      // # Serialization of this field uses the slatejs library
      name: "content",
      type: "richText",
      label: "Content",
      required: true,
    },
    {
      // # Create a 'author' field of type 'relationship', linked to the 'users' collection
      // # 'Users' represents the administrators of our CMS
      name: "author",
      type: "relationship",
      relationTo: Users.slug,
      hasMany: false,
      admin: {
        position: "sidebar",
      },
    },
    {
      // # Create a 'status' field of type 'select', which can have values 'draft' or 'published'
      // # Used to indicate the status of the post, whether it has been published or not
      name: "status",
      type: "select",
      label: "Status",
      defaultValue: "draft",
      options: [
        {
          label: "Draft",
          value: "draft",
        },
        {
          label: "Published",
          value: "published",
        },
      ],
      admin: {
        position: "sidebar",
      },
    },
    {
      // # Create a 'datePublished' field of type 'date' to store the publication date of the post
      name: "datePublished",
      type: "date",
      label: "Date Published",
      required: true,
      admin: {
        position: "sidebar",
      },
    },
  ],
};
srcpayload.config.ts – initialize the described collection
import { payloadCloud } from "@payloadcms/plugin-cloud";
import path from "path";
import { buildConfig } from "payload/config";
import { PostCollection } from "./collections/post.collection";
import Users from "./collections/Users";

export default buildConfig({
  admin: {
    user: Users.slug,
  },
  // # Добавляем с collections PostCollection
  collections: [Users, PostCollection],
  typescript: {
    outputFile: path.resolve(__dirname, "payload-types.ts"),
  },
  plugins: [payloadCloud()],
});
To change the status, we will write a simple logic, when the publication date becomes in the past tense, we change the status to published.
srcpostpost.service.ts
import { Model } from "mongoose";
import payload from "payload";
import { Post } from "payload/generated-types";
import { PostCollection } from "../collections/post.collection";

export class PostService {
  private readonly _postModel: Model;
  constructor() {
    this._postModel = payload.collections[PostCollection.slug].Model;
    setInterval(this.handlerPublisherPost.bind(this), 1000 * 60 * 60);
  }

  public async handlerPublisherPost() {
    const result = await this._postModel.find({
      status: "draft",
      datePublished: { $lte: new Date() },
    });
    for (const item of result) {
      item.status = "published";
      await item.save();
    }
  }
}
Initialize the post scheme from the payload cms.
private readonly _postModel: Model;
constructor() {
  this._postModel = payload.collections[PostCollection.slug].Model;
  setInterval(this.handlerPublisherPost.bind(this), 1000 * 60 * 60);
}
To get the types, write the command:
npm run generate:types
The handler checks once an hour whether there are posts with the draft status and in the past tense, if there is, translates the post status to published
public async handlerPublisherPost() {
  const result = await this._postModel.find({
    status: "draft",
    datePublished: { $lte: new Date() },
  });
  for (const item of result) {
    item.status = "published";
    await item.save();
  }
}
Initialize the written service
srcpostpost.module.ts
import { Module } from "@nestjs/common";
import { PostService } from "./post.service";

@Module({
  providers: [PostService],
})
export class PostModule {}
srcserverapp.module.ts
import { Module } from "@nestjs/common";
import { PostModule } from "../post/post.module";
import { AppController } from "./app.controller";
import { AppService } from "./app.service";
require("dotenv").config();

@Module({
  imports: [PostModule],
  controllers: [AppController],
  providers: [AppService],
})
export class AppModule {}
Results
We have successfully combined two powerful tools with you, in which these two can facilitate the writing of your project. Creating an administrative panel will not require a lot of time now. When adding an administrative panel to a project, we add to it not only cost, but also solidity.
If you are interested in payload, let me know! I will tell you and share even more experience in setting it up!
Repository with code – [click]